Sewing all that Silk! Inexpensive machines that help you get the job done!
- M Theresa Brown

- Apr 25, 2022
- 4 min read

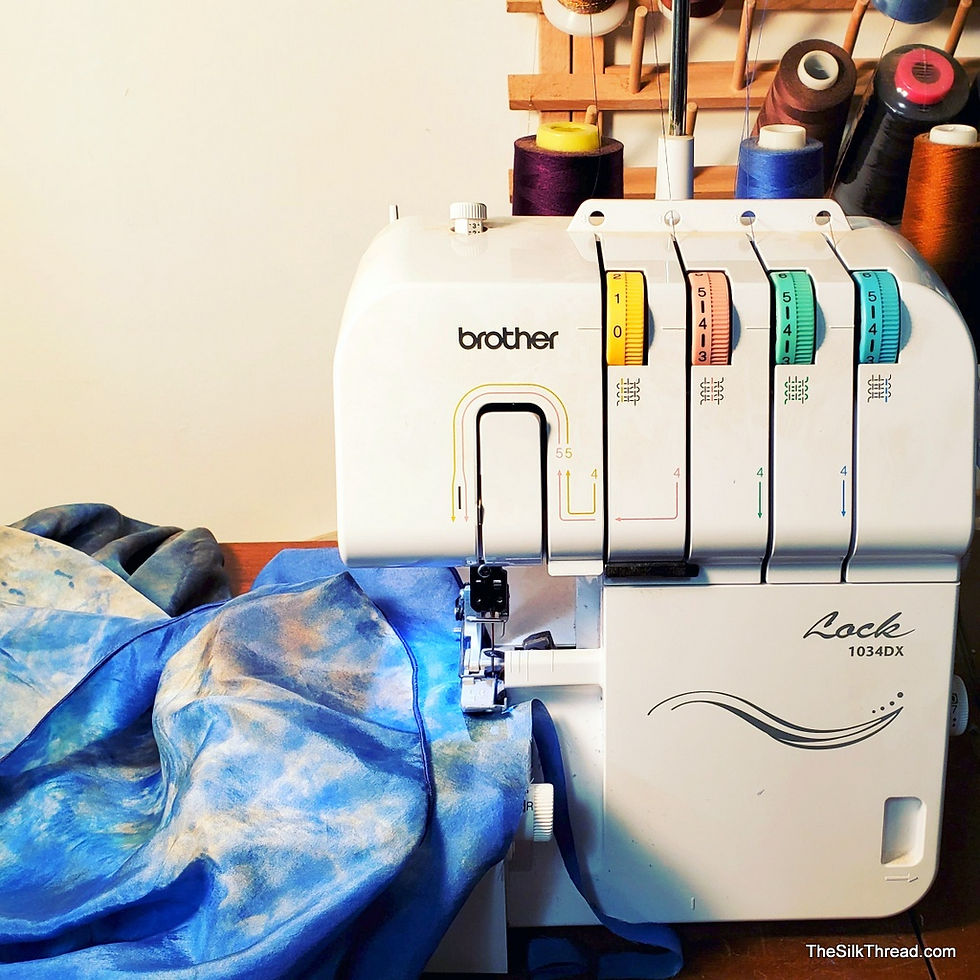
My Brother 1034DX serger
Sewing Silk-tips and techniques!
At some point in your fiber journey you realize that "just" dyeing, ecoprinting, block printing or hand painting on anything other than scarf blanks will require (ta da!) sewing! No matter your level of expertise, no one is immune to some level of concern about working with that slippery fabric-silk! I sew all of my own garments (now). But there is a reason for that, and it was not my first choice! A while back I dusted off my dormant sewing skills and old machine and tackled a silk project. That became a lesson in frustration! Rather than stick with it, I promptly decided I should just find someone to take my prepared fabrics and sew the garments for me. After all I was doing the other "hard" part-washing, dyeing or ecoprinting everything from silk charmeuse to silk noil -why re-invent the wheel? To make a long story short I rapidly discovered that no matter how much I paid someone, deadlines were an issue! So I bit the bullet and replaced my old machine with a modest Brother sewing machine, started watching Youtube videos for that model and forced myself to learn the machine! It does not matter how much or how little you pay for a machine-nothing works well unless you practice!

My Brother CS-6000i sewing machine
I was impatient but stuck with it! I rapidly discovered that raw silk was a pleasure to sew and could be worked very much like cotton-it ironed beautifully, draped well and in general is a dream to work with! The edges can be kept raw or turned just as you would a traditional hem when sewing.


Raw silk long swing vest
The real challenge came with traditional China silk! There are hundreds of blogs and Youtube videos out there on sewing silk! 65% of them are worthless! Some are great! And I dutifully gathered tissue paper (to keep it from sliding) and tried all the techniques mentioned. But it was not until a friend showed me her serger and I fell in love right then and there! Yep-that was my destiny until I priced them. I might as well have been looking at a small used car! But sure enough Amazon had one with thousands of reviews that fit my meager budget and the rest is history lol.
My Brother 1034DX is the follow up model to the very popular 1034D. I can save you a whole lot of time by sending you to this excellent site which covers everything from the unboxing to everything in between with this particular serger! Sewing Mastery has Tutorials on others as well! Brother 1034D Serger 1 Unboxing - YouTube
She also has step by step tutorials on the Brother Sewing machine I mentioned above. (as well as others)

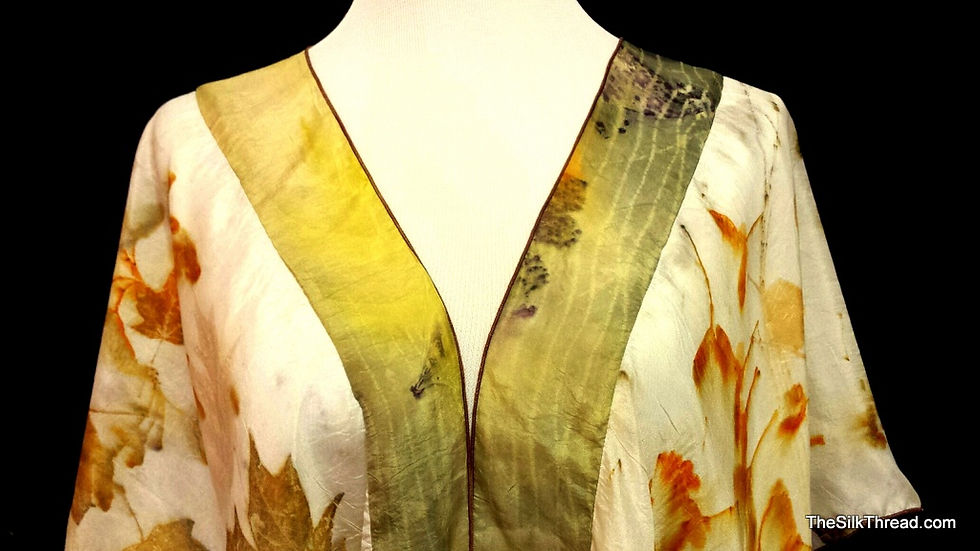
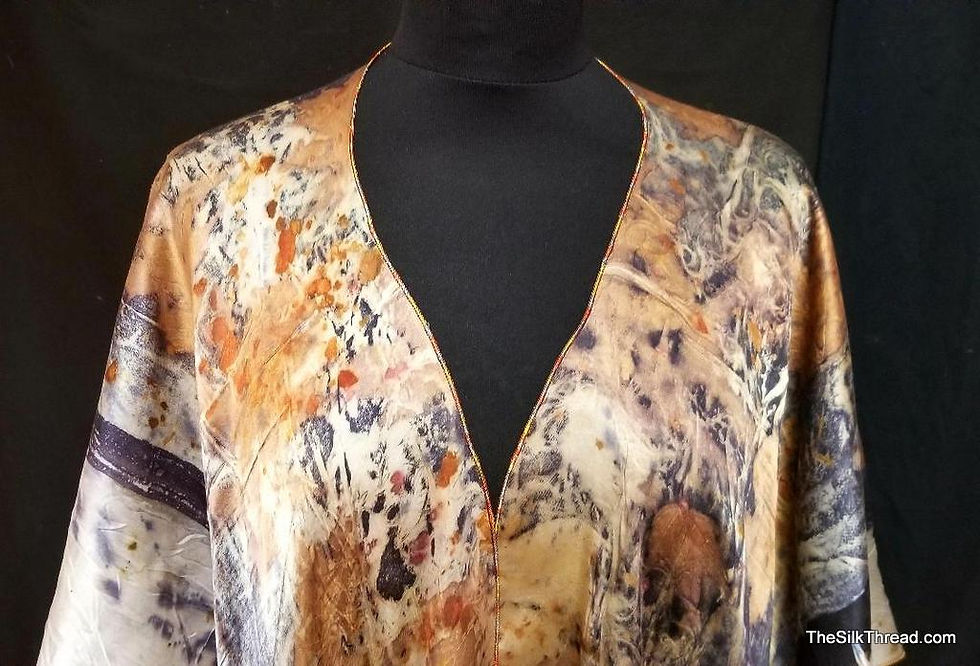
The serger changed everything! The popular "rolled hem" is created with 1 needle and 3 cones of thread. Take a look above. Other example in last photo.

A rolled hem with metallic decorative multicolored thread.
A standard serged edge that I use for the raw silk as well as some China silk pieces is a 2 needle, 4 thread stitch, I love this stitch on raw silk! See detail below.

Silk charmeuse is slippery! So below left is how I solve that problem-Place your silk face down and make sure your decorative stitch (in this case it is gold) is in the correct looper.


Although you can cut the serger theads about 2 " from the end and using a needle, run them back through your stitching to "seal them end off", I found it to be time consuming. I end my stitching my "running into" the original start point and running flush for half an inch or so. Trim and seal with fabric glue!

Practice on silk scraps first till you get the hang of it. There are all kinds of YouTube videos on ending the stitching but I found this worked best for me! Do not underestimate practice! And to recap-write down the setting (there is a page in the back of all serger instruction manuals!) of the settings that work best on each type of silk you sew on a serger!
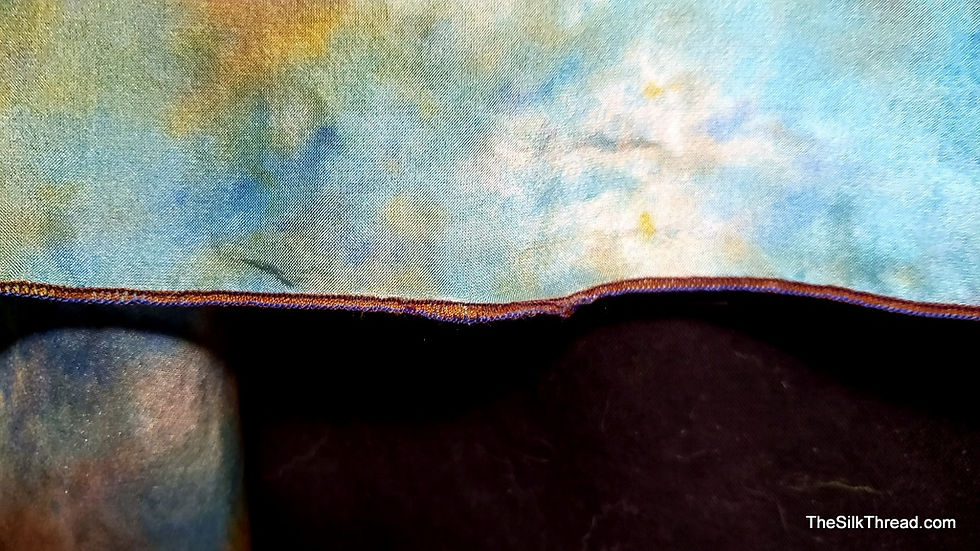
And finally to address the "fear" of using and threading your serger. Just do it! I do not change out and match threads. I like the contrast! You can use regular spools of thread in my serger for those special touches. Once you understand that it is the two "loopers" (Both far right on machnine) that you have to thread through the body of the machine, then it becomes a case fo following the diagram that is on them all in the machine! a quick way to quickly change a thread color in either of the two loopers however is to simply tie off the thread end of the old spool to the new spool and run the machine until the color changes. Use a scrap and you're good to go! (see below)

In the piece above I switched from blue to brown thread in my #2 looper without re-threading the machine. This is the rolled hem-a 3 stitch!
I hope I have encouraged you to sew! Don't be intimidated by either your sewing or serger machine. You do not have to spend a fortune on either and I promise, when it comes to sewing fine silk, the serger is a life saver!


Comments